All work
Support & contact
عربي
Home
›
Add-ons & Tools
›
Arabic Text Studio — Correct Arabic Typography for Blender
Installation — step by step
Download the add-on as a .zip file from Gumroad — do not unzip it.
Open Blender and go to Edit ▸ Preferences ▸ Add-ons.
Click Install and pick the .zip file. (Blender 4.2+: click the ▾ arrow at the top, then Install from Disk.)
Tick the checkbox next to the add-on name in the list.
Back in the viewport press N to open the sidebar — you'll find the Arabic tab.
Works with Blender 4.2 and up; a legacy build for 3.6–4.1 is included in the download.
How to use
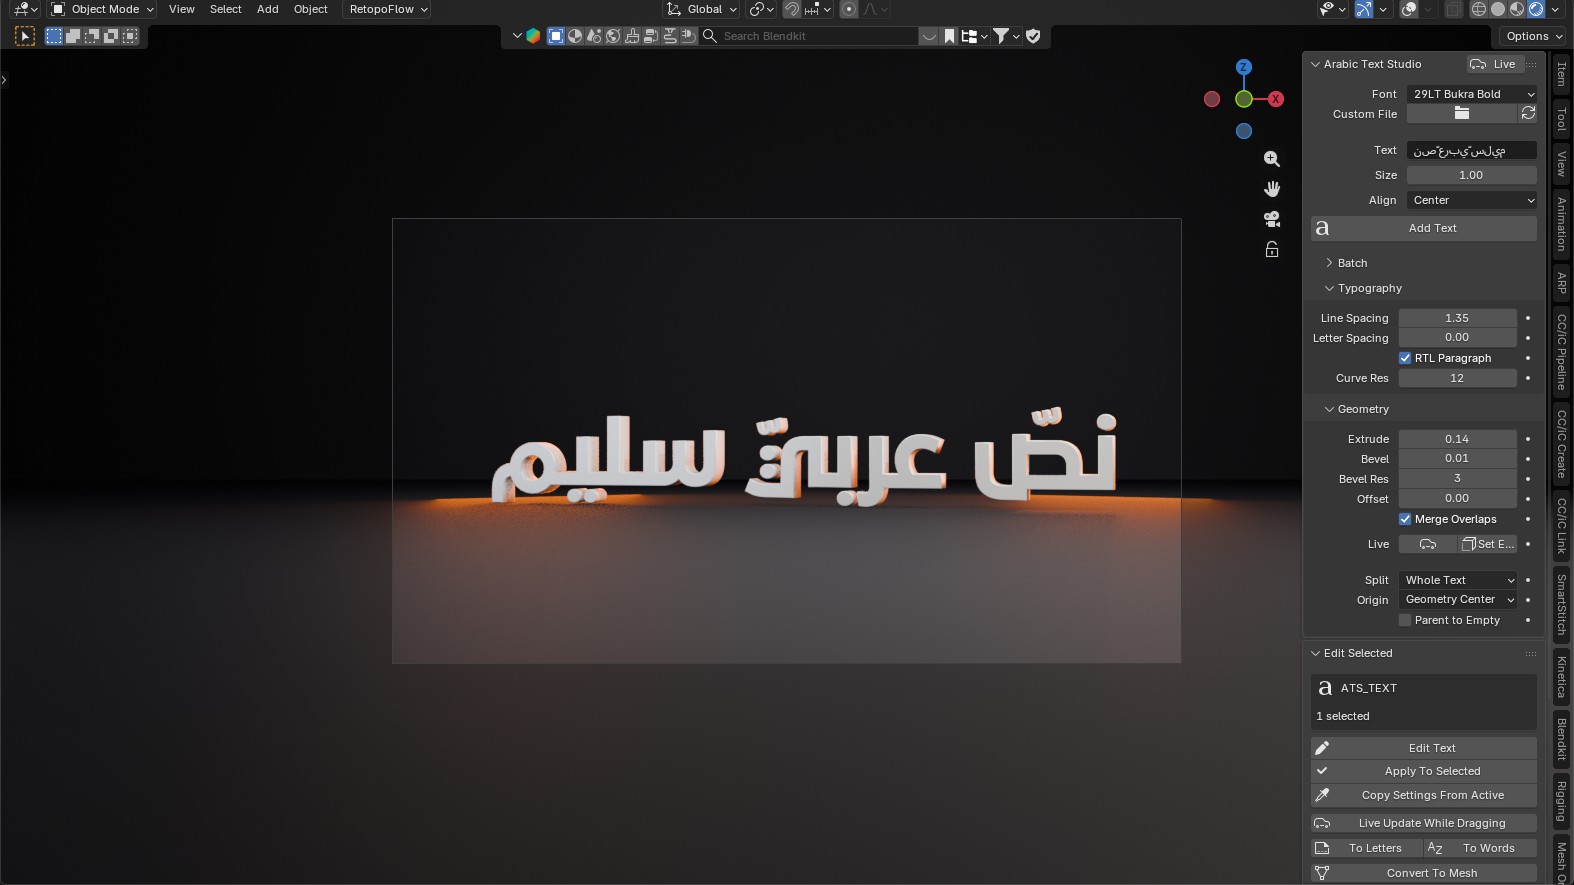
Open the sidebar (N) and go to the Arabic Text Studio tab.
Pick a font from the Font list, or click the folder icon in Custom File to load any Arabic font file from your machine.
Type your text in the Text field and click Add Text — the letters come out correctly joined and in the right direction.
Set Size and Align, then use Typography for Line Spacing and Letter Spacing — keep RTL Paragraph on for Arabic paragraphs.
In Geometry set Extrude and Bevel to give the text depth, and keep Merge Overlaps on so the outlines stay clean and the extrude doesn't break.
Turn on Live Update to see changes as you drag the values.
To change existing text: select it, click Edit Text and type the new text.
To Letters and To Words split the text into separate letters or words — exactly what you need to animate each one on its own.
In Batch, paste a list of strings and hit Create All to build them all at once, arranged in columns or rows.
In Materials assign, unify or separate materials — and use Convert To Mesh when you need the text as real geometry.
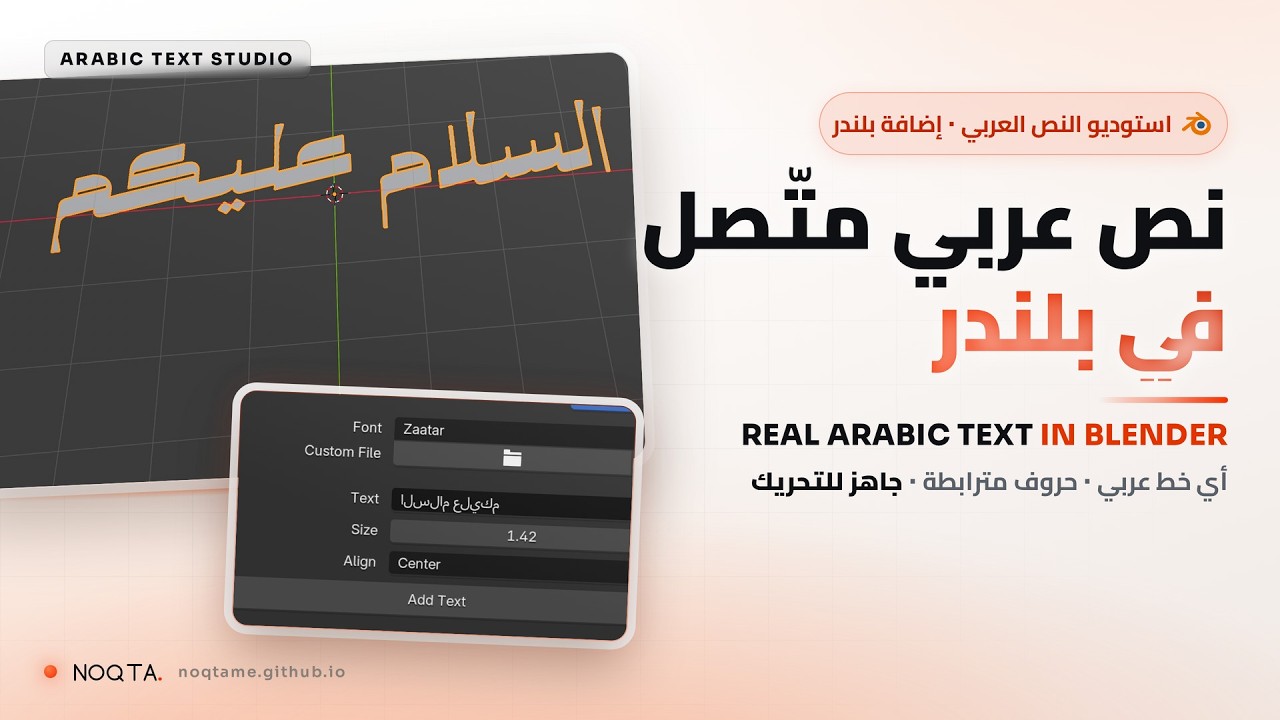
Prefer to watch? The full walkthrough is at the top of this page, with chapters so you can jump straight to the part you need.
Gallery
The add-on panel inside Blender
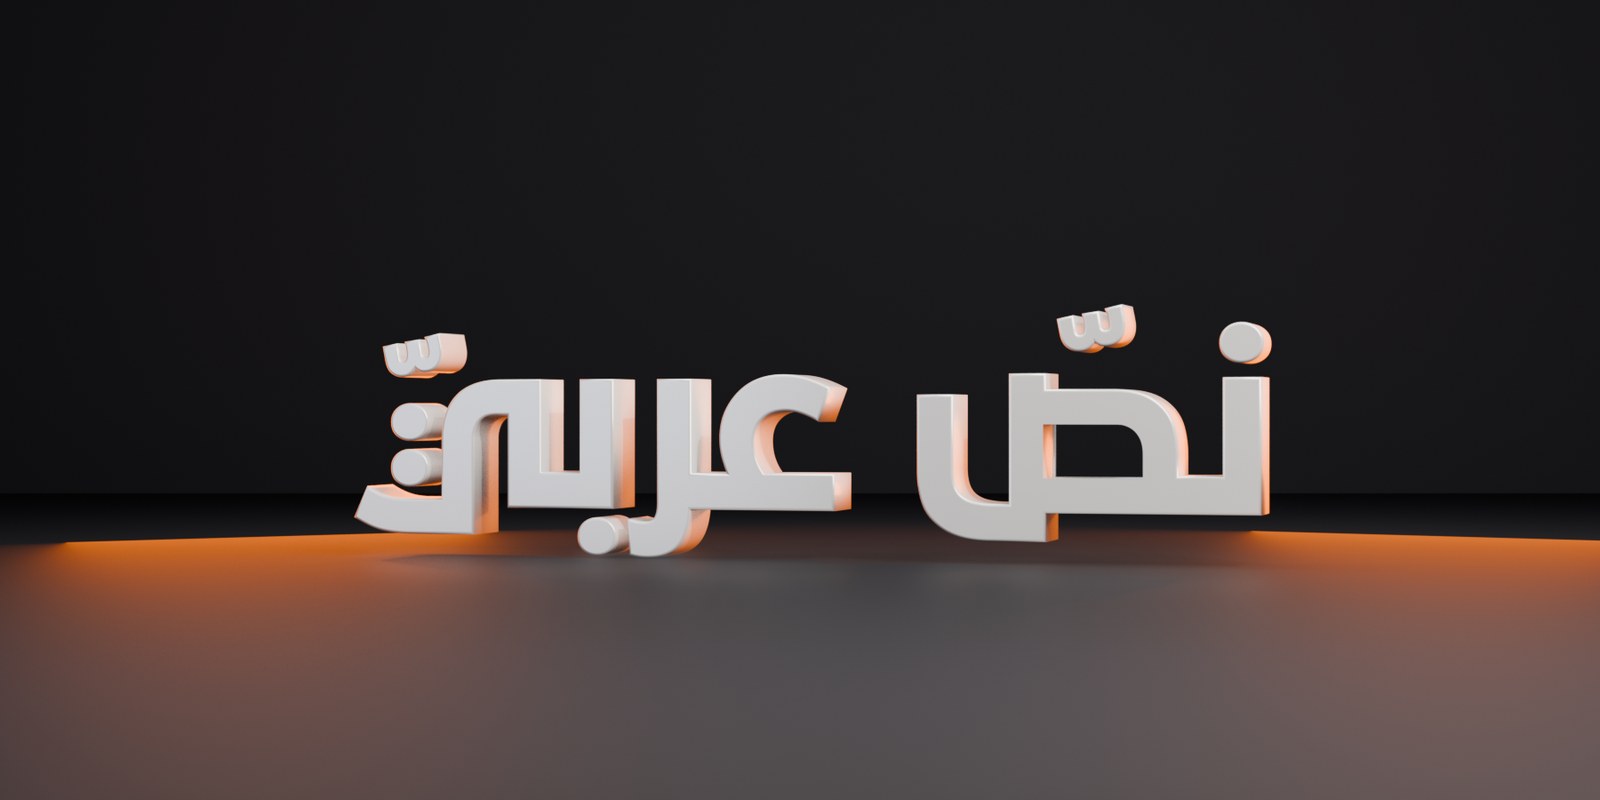
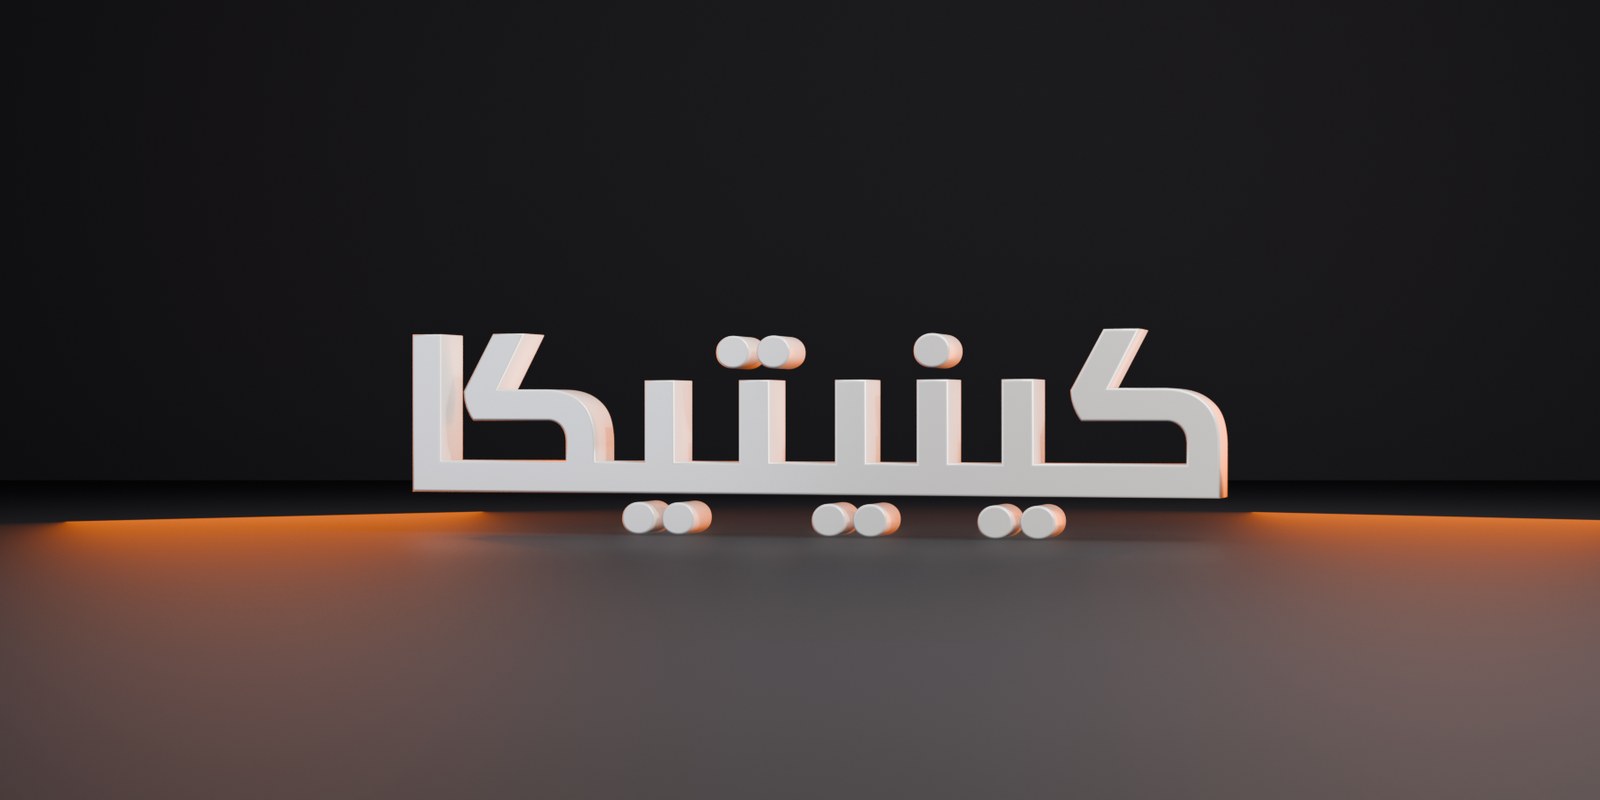
Rendered straight from Blender
Related products
Kinetica — One-Click Motion Graphics Add-on for Blender
Add-ons & Tools
$13.30
$19